


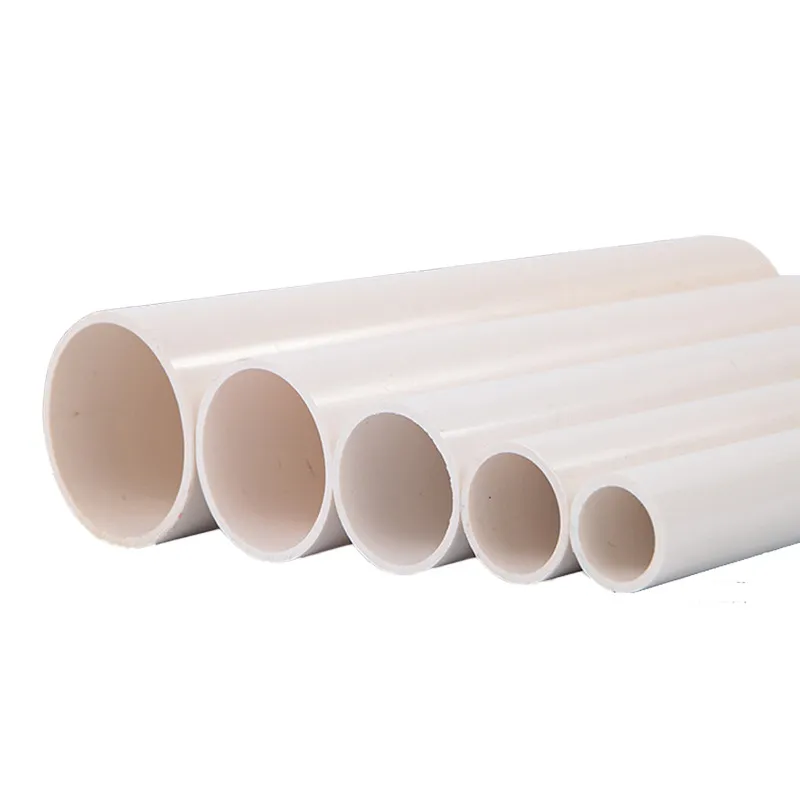
Leaking PVC pipe joints are a common plumbing issue, often caused by loose connections, degraded seals, or improper installation. Effective repair requires a systematic approach based on the severity of the leak and the joint type. Below is a detailed guide covering diagnosis, repair methods, and preventive measures, drawing from proven industry techniques.
1. Identifying the Leak: Key Factors to Consider
Before applying any repair, identify the underlying cause to select the appropriate solution.

- Loose Connections: Vibration, thermal expansion, or improper tightening can cause threaded or solvent-welded joints to become loose.
- Damaged Seals: Rubber gaskets or O-rings in mechanical joints may crack or deform due to aging.
- Improper Solvent Welding: Inadequate surface preparation or uneven adhesive application can weaken solvent-welded joints.
- External Damage: Cracks or punctures near the joint caused by physical stress.
2. Step-by-Step Repair Methods for Various Leak Scenarios2.1 Minor Seepage at Solvent-Welded Joints
For small leaks caused by minor gaps or incomplete sealing in glued joints, use targeted sealing methods.
- Materials Required: PVC-specific repair adhesive, cleaning cloths, and sandpaper.
- Procedure:
- Surface Preparation: Turn off the water supply and drain the pipe. Thoroughly clean the affected area with a dry cloth to remove debris and moisture. Lightly sand the surface to improve adhesion.
- Apply Repair AdhesiveEvenly coat the leak point with PVC repair adhesive, ensuring complete coverage without bubbles. Follow the manufacturer's curing time guidelines.
- Reinforce with tape: After the adhesive has dried, tightly wrap the area with repair tape compatible with PVC, smoothing out any wrinkles to create a watertight barrier.
Loose joints often result from inadequate tightening or worn threads.
- Materials Required: Adjustable wrench, thread sealant, and replacement gaskets (if required).
- Procedure:
- Tighten the Joint: Use an adjustable wrench to gently tighten the connection. Avoid over-tightening, which can crack the PVC.
- Replace Sealants: If the leak persists, disassemble the joint, remove the old gasket, and clean the mating surfaces. Apply a compatible lubricant to the new gasket before reinstalling.
- Apply Thread Sealant: For threaded joints, apply PTFE tape or liquid thread sealant to the male threads before reassembly to enhance sealing.
For severe damage, such as large cracks or broken joints, partial replacement is necessary.
- Materials Required: Pipe cutter, PVC coupling, new pipe section, solvent cement, and primer.
- Procedure:
- Cut out the damaged section: Use a pipe cutter to remove the damaged portion, ensuring straight and clean cuts. Sand the cut edges to smooth them.
- Install Coupling and New PipeApply PVC primer and solvent cement to both pipe ends and the coupling. Insert the new pipe segment into the coupling, twisting slightly to distribute the cement evenly. Hold for 30 seconds to allow the cement to set.
- External Reinforcement: For large cracks, slide a repair sleeve over the damaged area and secure it with solvent cement to enhance structural integrity.
Flanged joints often leak due to gasket failure or inconsistent bolt tension.
- Materials Required: Replacement gasket, wrench, and PVC adhesive.
- Procedure:
- Drain and Disassemble: Turn off the water supply and drain the system. Loosen the bolts and remove the flange.
- Clean and ReplaceClean the mating surfaces, remove the old gasket, and install a new one. Apply a thin layer of PVC adhesive to the flange surfaces before reassembling.
- Tighten Evenly: Tighten the bolts in a criss-cross pattern to ensure even pressure and prevent flange distortion.
3. Post-Repair Verification and Maintenance
After the repair, verify its effectiveness and implement preventive measures to avoid recurrence.
- Pressure Testing: Gradually restore water flow and check for leaks. Monitor the joint under normal operating pressure for at least 30 minutes.
- Regular InspectionInspect joints every quarter for signs of corrosion, looseness, or moisture.
- Preventive Measures:
- Use high-quality PVC solvent cement and follow proper application techniques (e.g., priming before applying).
- Avoid overtightening mechanical joints; use torque-limiting tools if necessary.
- In areas with high vibration, install flexible connectors to reduce stress on rigid joints.
4. When to Call a Professional
While many PVC leaks can be repaired with DIY methods, consult a professional if:

- The leak involves pipes operating at high pressure or with large diameters.
- The repair requires cutting into walls or underground utilities.
- Repeated leaks indicate underlying problems such as pipe misalignment or widespread material failure.
By following these methods, you can effectively address PVC joint leaks and ensure long-term system reliability. Always prioritize safety, including shutting off water sources and wearing protective gear when handling tools or chemicals.