


Creating a bow from a PVC pipe can be a fun and educational project. Here's a step-by-step guide to help you make one:

- PVC Pipe: Select the appropriate size based on your requirements.
- PVC Elbows: These will serve as attachment points for the bowstring.
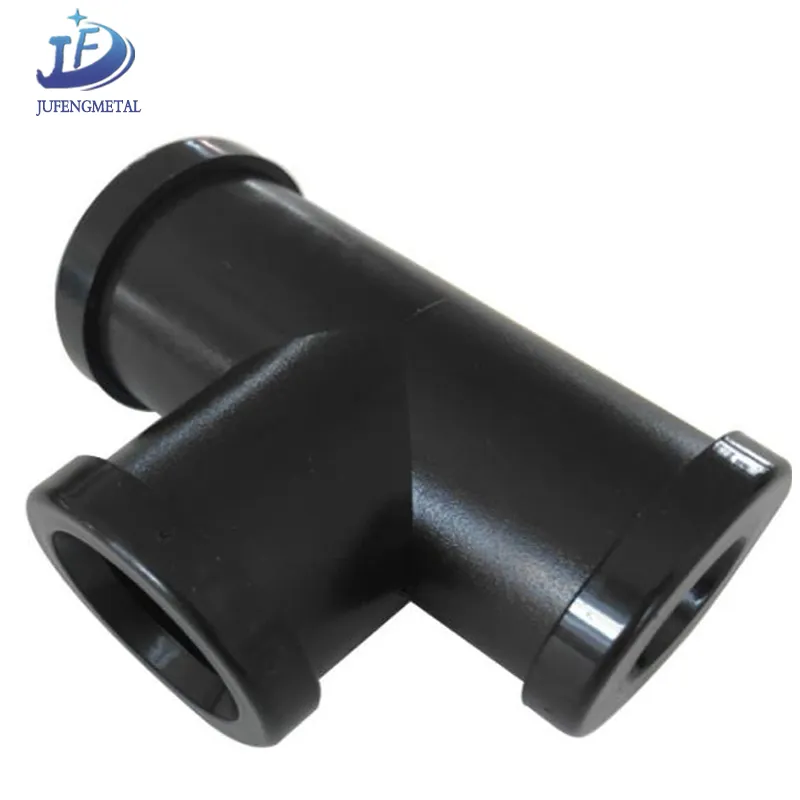
- PVC Tees: These will serve as the string holders.
- PVC CouplersThese will connect the elbows and tees.
- PVC Primer and Cement: For sealing joints.
- Sandpaper: To smooth the edges.
- Drill with Bits: For creating holes in PVC pipes.
- - String or Rope: For the bowstring.
- Measuring Tape: For precise measurements.
- Clamps: To temporarily hold pieces together during the drying process of the adhesive.
- Determine the Size: Determine the length and width of your bow. A common design is a simple Y-shaped bow, but you can also create more complex shapes.
- Draw a Template: Sketch your design on paper to visualize how all the components will fit together.
- Measure and Mark: Use the template to mark the cut lines on the PVC pipes.
- Cut the Pipes: Use a hacksaw or PVC cutter to make precise cuts. Ensure all cuts are straight and clean.
- Position the Elbows: Place the elbows in the positions where they will serve as attachment points for the bowstring.
- Drill Holes: Use a drill with a bit slightly smaller than the string or rope diameter to create holes in the elbows. Ensure the holes are centered and properly aligned.
- Prime and Cement JointsApply PVC primer to all surfaces that will be bonded together. Allow it to sit for a few minutes, then apply PVC cement and immediately press the pieces together. Hold them firmly until the adhesive sets (usually about 30 seconds).
- Use Couplers and Tees: Connect the elbows and tees using PVC couplers and tees to create the desired shape for your bow. Ensure all joints are securely sealed.
- Sand the Edges: Use sandpaper to smooth any rough edges or burrs resulting from cutting and drilling. This will improve the safety and comfort of handling the bow.
- Thread the String: Insert the string or rope through the holes in the elbows. You may need to use a small piece of tape or zip tie to secure the ends of the string to prevent slipping.
- Tighten the String: Pull the string firmly to ensure it maintains its shape when drawn.
- Educational Tool: Ideal for introducing children to fundamental engineering principles and mechanics.
- Decorative Element: Can be used as a decorative element in gardens or indoor spaces.
- Functional Art: Some people use them as functional art pieces in their homes or offices.
- Regular Inspections: Periodically inspect all joints for signs of wear or loosening. Tighten any connections as needed.
- Cleaning: Wipe down the PVC parts with a damp cloth to remove dust and dirt. Avoid using harsh chemicals that could damage the PVC.
- Storage: Store the bow in a dry place to prevent warping or cracking due to moisture exposure.
By following these steps, you can create a functional and aesthetically pleasing PVC pipe bow. Enjoy your project!