Creating a clothes rack using PVC pipe is a practical and cost-effective project. Here's a step-by-step guide to help you build one:

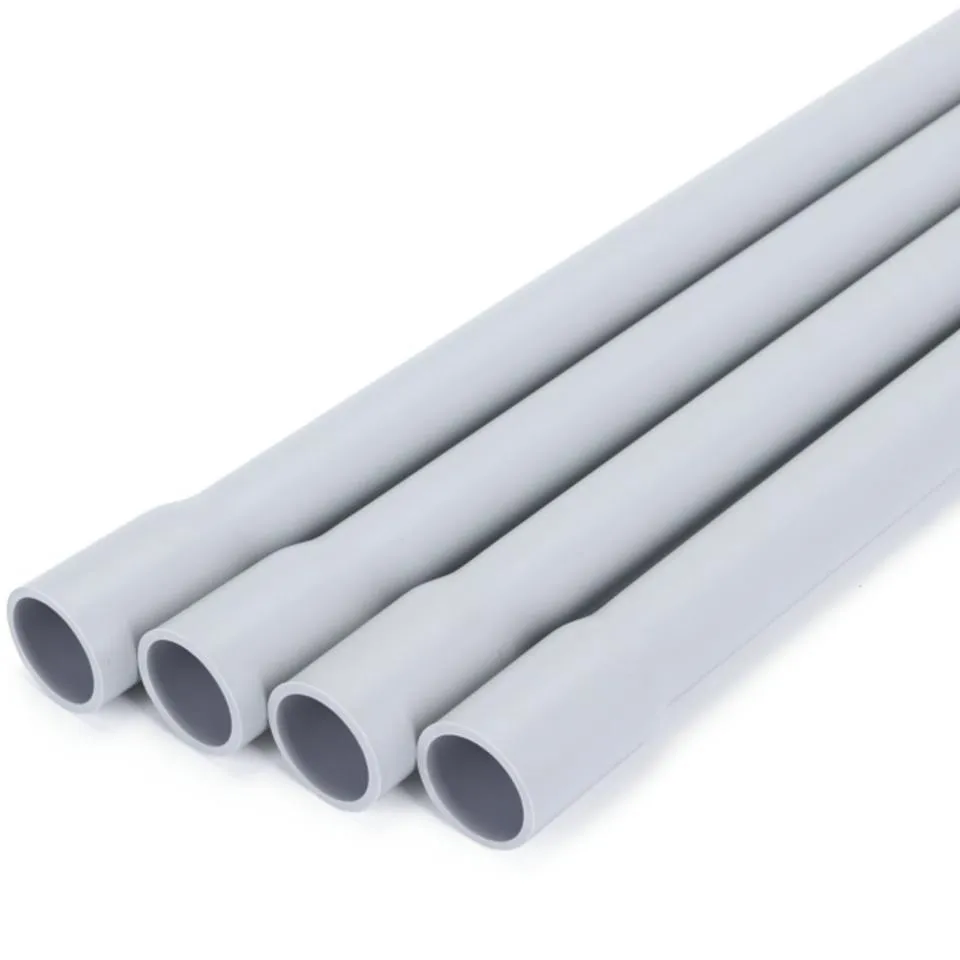
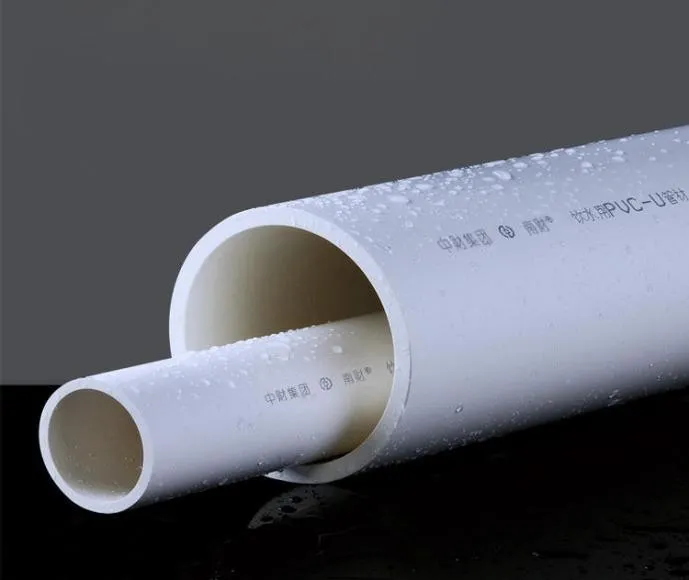
- PVC Pipe: Choose the appropriate size based on your needs (e.g., 1/2" or 3/4" diameter for lightweight garments).
- PVC Fittings: Tees, elbows, and end caps are commonly used.
- PVC Primer and Cement: To ensure a strong bond between the pipes and fittings.
- Screws and Brackets: For attaching the rack to a wall or ceiling.
- Drill and Drill Bits: For creating holes in PVC pipes.
- Measuring tape: To measure the length of the pipes and components.
- Hammer and Nails: If mounting directly into a stud.
- Utility Knife or PVC Cutter: For cutting the PVC pipe to the required length.
- Level: Ensures the rack is mounted properly.
- Determine Dimensions and Form: Determine the height, width, and depth of your clothes rack. Consider the available space and the number of clothes you want to store.
- Draw a Blueprint: Sketch out your design, including the number and arrangement of shelves, rods, and hooks.
- Measure and Mark: Use a measuring tape to mark the length of each pipe section according to your design.
- Cut the Pipe: Use a utility knife or PVC cutter to carefully cut the pipe to the required length. Ensure you wear safety goggles and gloves while cutting.
- Prepare the PipesApply PVC primer to the pipe ends where they will be joined.
- Connect the Pipes with FittingsUse PVC cement to join the pipes together using tees, elbows, and other fittings according to your design. Ensure that all joints are securely fastened.
- Check for proper alignment: Use a level to ensure that the frame is straight and evenly balanced before proceeding to the next steps.
- Install Shelf Brackets: Use additional pieces of PVC pipe for shelf supports. These can be attached horizontally across the frame to provide support for additional shelves, if required.
- Attach Hanging Rods: If you plan to hang clothes from hangers, install a horizontal pipe or rod at the top of the frame using brackets or fittings. Ensure it is securely fastened and level.
- Select Mounting Locations: Identify the desired mounting location, such as a wall stud or ceiling joist.
- Mark and Drill Holes: Use a level to mark and drill holes through the PVC pipe at the points where it will be mounted.
- Secure the Rack: Use screws, wall anchors, or brackets to secure the pipe frame to the wall or ceiling. Ensure it is stable and does not wobble.
- Regular Cleaning: Wipe the PVC surface with a damp cloth to remove dust and dirt. Avoid using harsh chemicals that could damage the PVC material.
- Inspect Joints: Periodically inspect PVC joints for any signs of leakage or looseness. Tighten connections as needed.
- Avoid Excessive Weight: Ensure that the rack is not overloaded with heavy items to prevent structural damage.
- Protect from Sunlight: UV rays can degrade PVC over time, so consider positioning the rack away from direct sunlight if possible.
By following these steps, you can create a durable and functional clothes rack using PVC pipe that meets your storage requirements.