


How to Make a PVC Pipe InstrumentMaterials and Tools NeededMaterials:
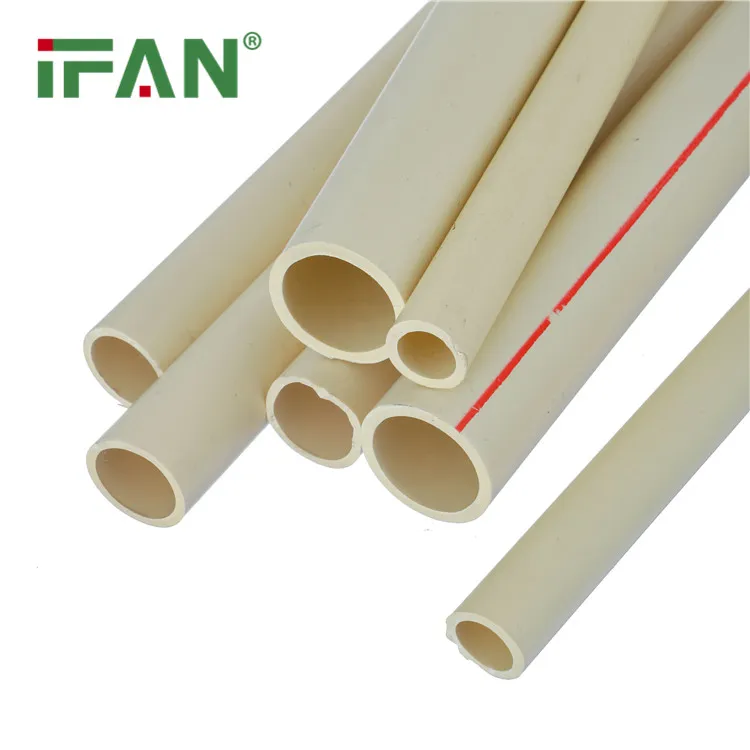
- PVC pipes (various sizes)
- PVC fittings (T-joints, elbows, reducers, etc.)
- PVC adhesive or primer
- Sandpaper
- Measuring tape
- Cutting tool (pipe cutter or hacksaw)
- Protective equipment (gloves, goggles)
- Pipe cutter or hacksaw
- Hammer or mallet
- Clamps
- Level
- Marker or pencil
- Screwdriver set
- Wrenches
- Utility knife or razor blade
- Draw the Blueprint: Create a detailed drawing of your instrument, clearly indicating all dimensions and required pipe connections.
- Select Pipe DimensionsChoose appropriate diameters for different sections based on your design's requirements.
- Determine Fasteners: Identify the types and quantities of fittings required (T-joints, elbows, reducers, etc.).
- Material List: Compile a list of all materials and tools required.
- Measure and Mark: Use a measuring tape and marker to mark the lengths of each pipe section according to your design.
- Cut the pipes: Use a pipe cutter or hacksaw to cut the pipes to the required lengths. Ensure the cuts are straight and clean.
- Smooth Edges: Use sandpaper to smooth any rough edges from the cutting process.
- Prime the PipesApply PVC cement to the ends of the pipes and fittings that will be joined. Allow it to sit for a few seconds until it becomes tacky.
- Assemble the Components: Quickly connect the pipes and fittings together while the cement is still workable. Use clamps to hold the pieces in place until the cement is completely set (typically within an hour).
- Check Alignment: Ensure the surface is level and that all joints are properly aligned. Check for any gaps or misalignments and make necessary adjustments.
- Inspect the AssemblyCarefully inspect the entire assembly for any leaks or loose joints. Reapply cement if necessary.
- Install Accessories: If your design includes accessories such as valves or connectors, install them according to their specific installation instructions.
- Test the Device: Before using the instrument for its intended application, test it to ensure that all functions are working correctly.
- Regular Inspections: Periodically check for signs of wear and tear, such as cracks, leaks, or deterioration of the PVC material.
- Clean Regularly: Maintain cleanliness to prevent the accumulation of debris or contaminants that could cause blockages or damage.
- Lubricate Moving Parts: For instruments with moving parts, regularly lubricate them to ensure smooth operation.
- Replace Worn Components: Promptly replace any worn or damaged components to maintain the integrity and functionality of the instrument.
By following these steps and best practices, you can create a functional and durable PVC pipe instrument that is tailored to your specific requirements.