


| Model NO. | SFD-16 |
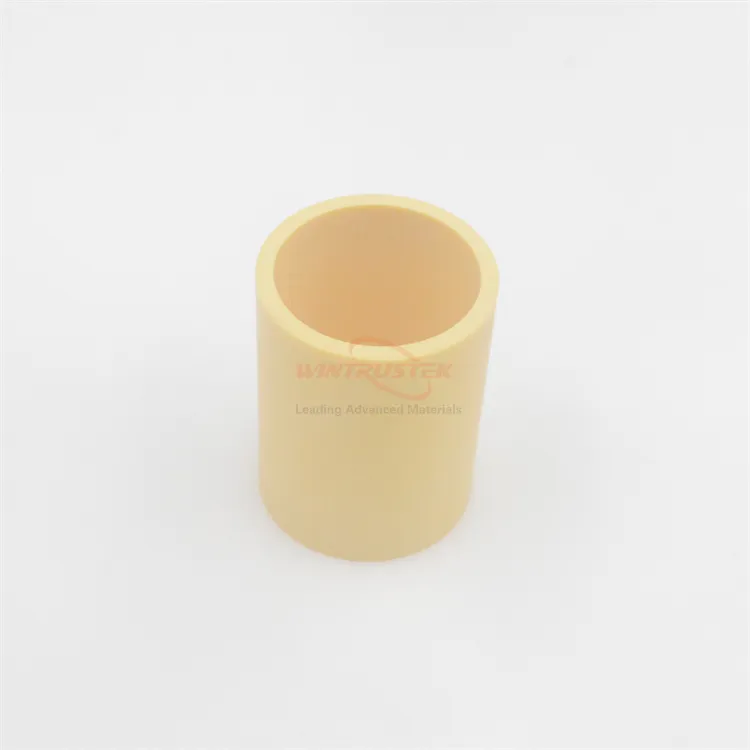
| Type | Thermosetting Plastic Pipe |
| Color | Color |
| Hollow | Hollow |
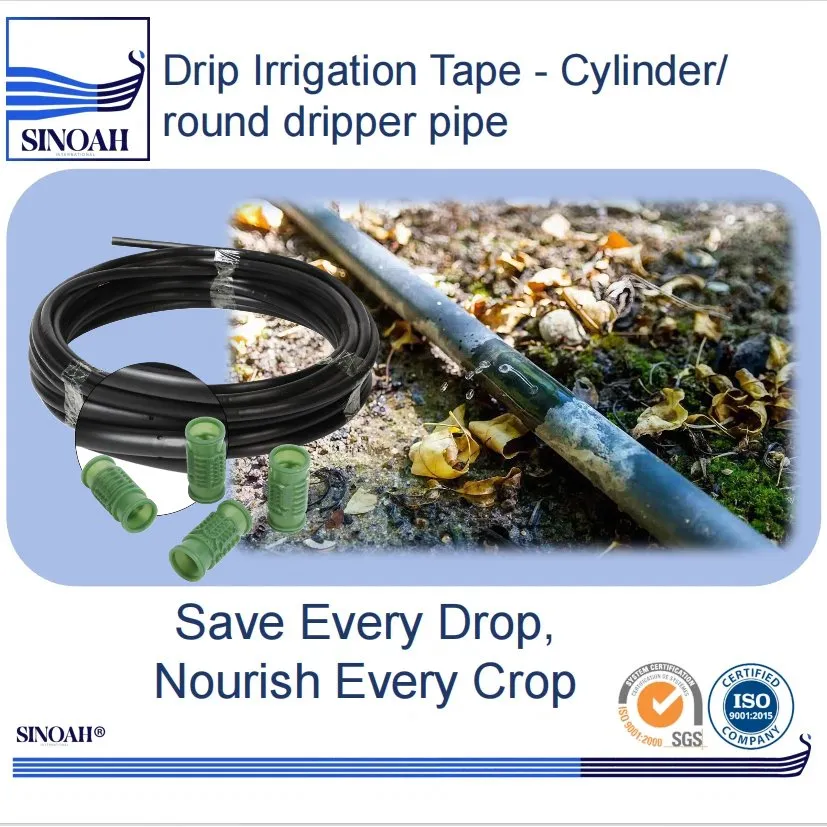
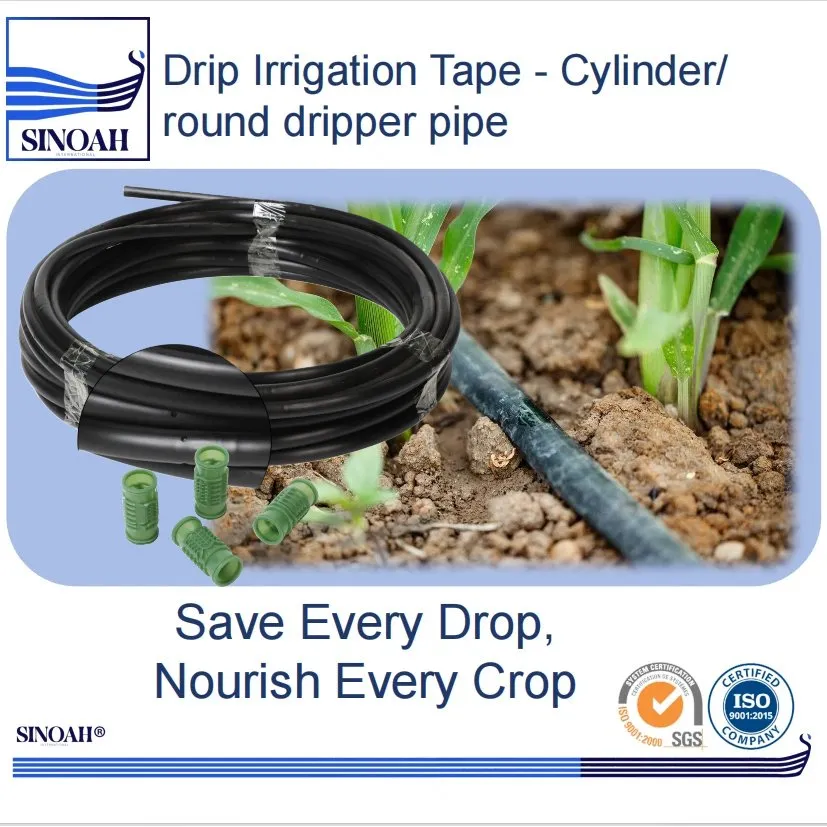
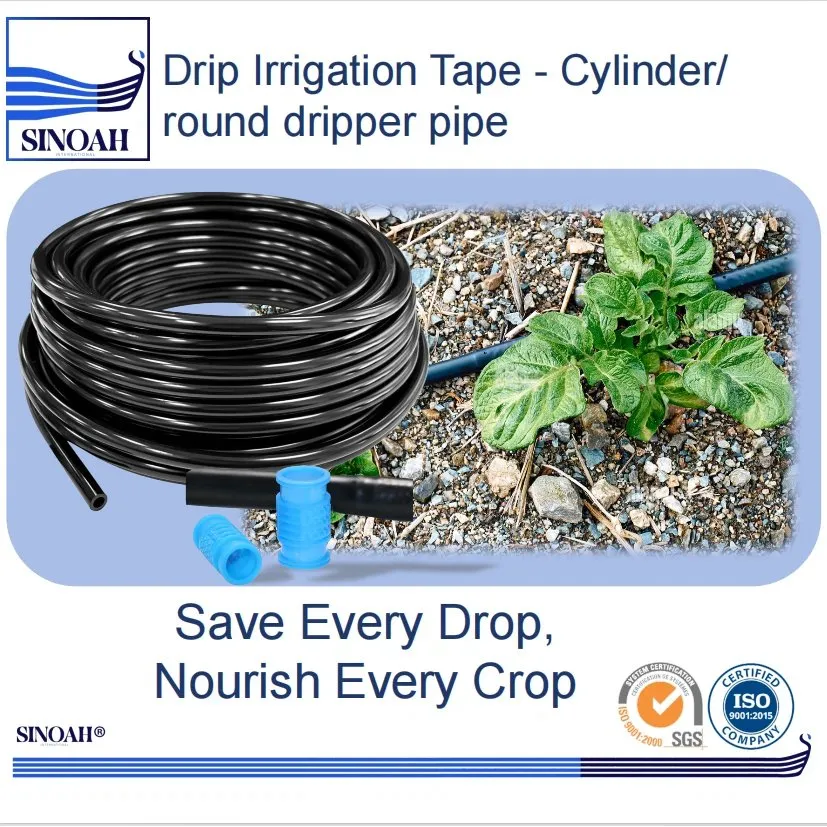
| Shape | Round |
| Usage | Water Supply Pipe, Agricultural Irrigation Pipe |
| Warranty | 1 Year |
| Material Properties | Virgin/Recycled PE + UV Masterbatch |
| Diameter | 12 mm/16 mm/20 mm/22 mm |
| Wall Thickness | 0.15 0.18 0.20 0.30 0.40 0.60 0.80 1.0 1.2 mm |
| UV / Aging Life | Depends on Wall |
| Emitter Spacing | 5-100cm (Popular 10 20 30 40 50 Cm) |
| Emitter Flow Rate | 0.8 1.1 1.38 2.0 3.0 4.0 L/H |
| Operating Pressure | 0.8-1.0 Bar |
| Burst Pressure | ≥ 2.0 Bar |
| Roll Length | 500 800 1000 1500 2000 3000 M/Roll |
| Clog Resistance | Window Inlet Filter+Turbulent Labyrinth Channel |
| Fertigation Compatible | Yes |
| Transport Package | Standard Seaworthy Package |
| Specification | 12 mm/16 mm/20 mm/22 mm |
| Trademark | SINOAH |
| Origin | China |
| HS Code | 39173200 |
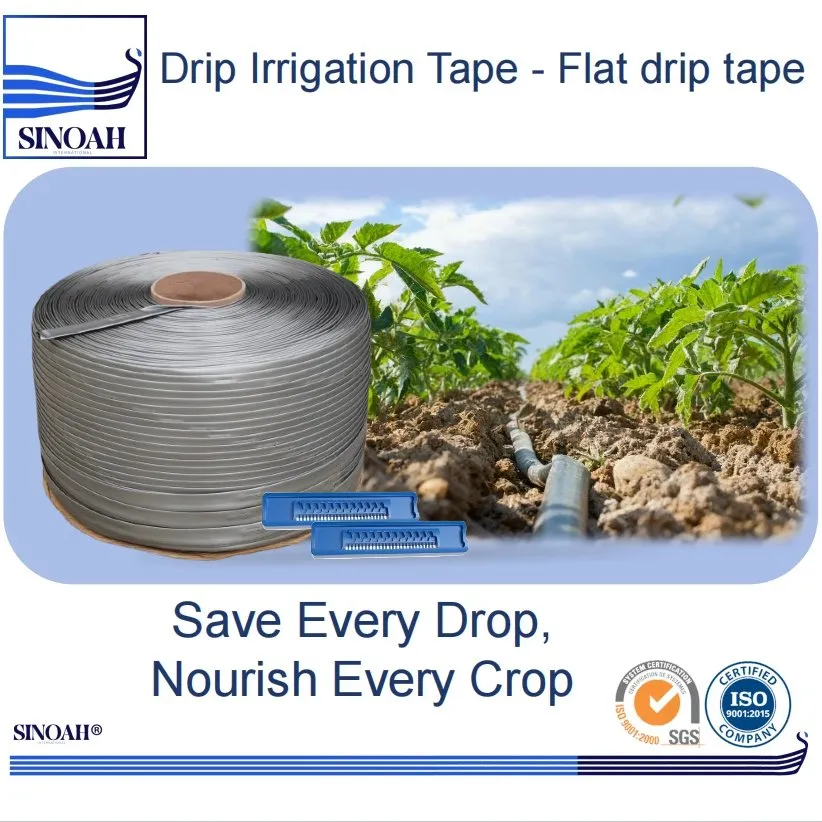
Specification
Diameter
16 mm; 22 mm
Thickness
0.15 mm (6 mil), 0.18 mm (7 mil), 0.2 mm (8 mil), 0.3 mm (12 mil), 0.4 mm (16 mil)
Dripper Spacing
10 / 15 / 20 / 30 / 40 / 50 cm
Flow Rate
1 / 1.38 / 2.2 / 2.7 / 3.0 L/H
Roll Length
500 / 1000 / 1500 / 2000 / 2500 / 3000 m per roll
Working Pressure
1 bar
Recommended Filtration
120 mesh
Overview

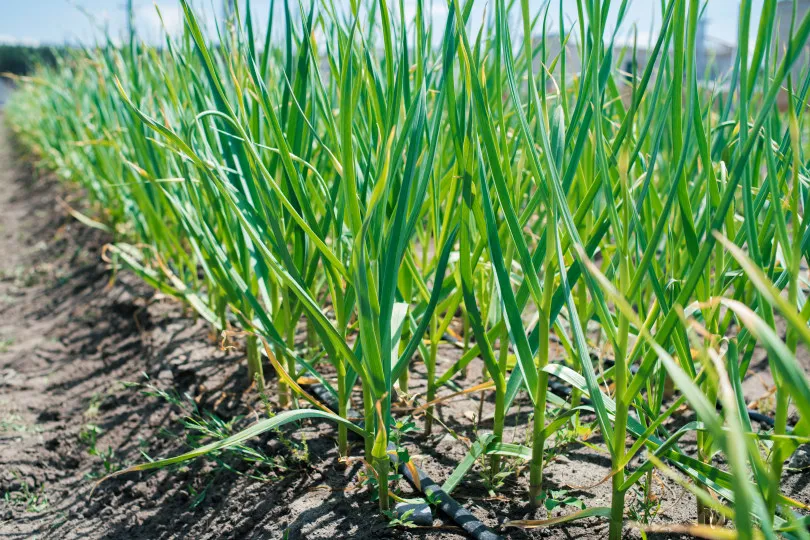
Drip irrigation is currently the most effective water-saving method for arid and dry regions, with a water utilization rate of up to 95%. Compared to sprinkler irrigation, drip irrigation offers superior water conservation and yield enhancement. Additionally, when combined with fertilization, it can more than double fertilizer efficiency. It is suitable for irrigating fruit trees, vegetables, cash crops, and greenhouses, and can also be used for field crops in dry areas.
Key Features

1. Seamless Thin-Wall Construction
Today's drip tapes use advanced plastic materials that bend easily and resist sun damage.
The seamless design matters because it prevents weak spots and leaks that happen with tapes made from separate pieces.
Lightweight and flexible, making installation and removal faster and easier, reducing costs, especially for large-scale farms.
2. Wall Thickness Options
Measured in "mil" units, ranging from 6 mil (for one-season crops) to 16 mil (for heavy-duty, multi-season use), catering to various needs.
3.Advanced Emitter Technology
High-quality emitters ensure uniform water distribution to each plant, resist clogging, require less maintenance, and have a longer lifespan.
Applications
Ideal for greenhouse crop irrigation, helping reduce diseases and pests, save on chemical fertilizers, and improve economic returns.
Used in orchards to increase yield and fruit quality, while controlling weed growth.
Suitable for cotton, watermelon, field vegetables, and other crops, improving mechanized planting efficiency.

Usage and Maintenance
In hot seasons, the drip tape is exposed to direct sunlight for long periods, leading to rapid aging and breakage, especially at the joints between the mainline and the drip tape (where there is no crop shading), resulting in leaks and a shorter lifespan.
based on years of experiments and observations, we have found that drip tapes covered with transparent polyethylene mulch age and deteriorate quickly, while those covered with silver-gray reflective mulch are less prone to aging and breakage.
To extend the lifespan of drip tape, in addition to preventing mechanical damage during installation, covering the joints with silver-gray reflective mulch or taking shading measures can effectively prolong the drip tape's service life.
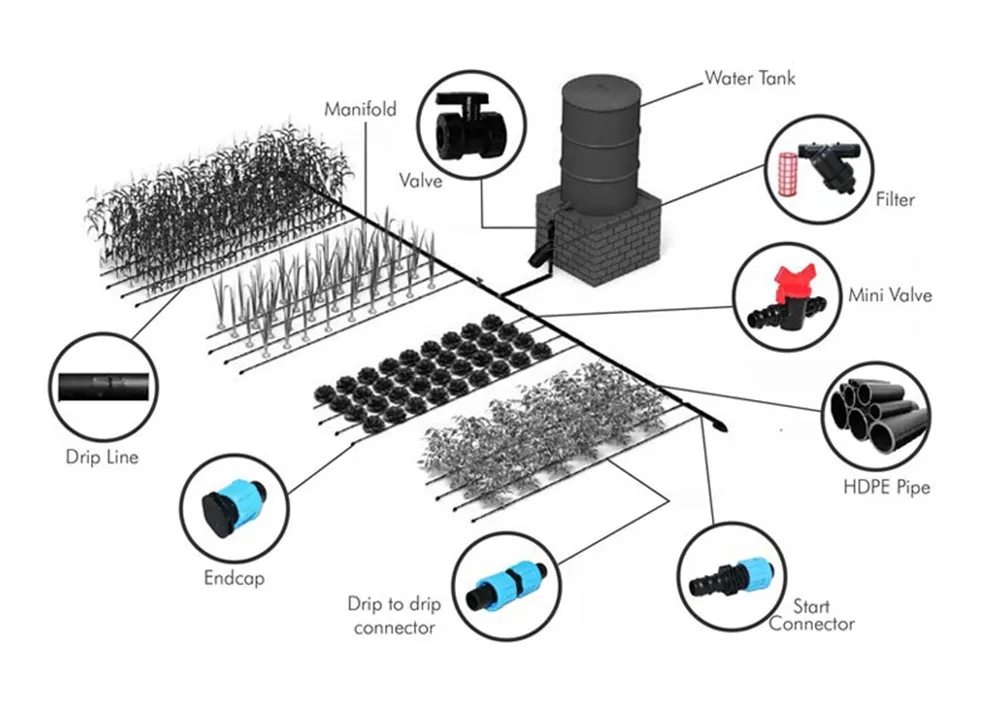
** Step-by-Step Installation
Step 1: Lay Mainline
Start by laying your main poly tubing from the water source. From there, you'll connect the drip tape using fittings designed for a tight, leak-free connection.
Step 2: Connect Water
Connect your parts to the water spigot in this order: Timer (if you want one), Backflow Preventer, Filter, Pressure Regulator, then the Mainline Tubing Adapter. A 10 PSI pressure regulator is recommended to prevent bursting and ensure even watering in your drip tape.
Step 3: Punch Holes
Use your hole punch tool to make clean holes in the mainline tubing. Space these holes so they line up with the center of each garden row. This is where you'll put your drip tape.
Step 4: Connect Tape
Put a barbed fitting into each hole you made then attach the drip tape to the other end of the fitting. Use barbed fittings with shut-off valves for easy control.Make sure the tape goes on with the emitter holes facing up.This step is crucial for proper water flow and preventing clogs.
Step 5: Roll Out Tape
Carefully unroll the drip tape down each row. Don't pull it too tight. Use a drip tape layer attachment or double wheel hoe to help lay and bury the drip tape about an inch below the soil surface. Burying helps protect the tape from sun damage and keeps it in place.
Step 6: Flush System
Many people skip this step, but it's essential for a system that lasts. Before you close the ends of the lines, turn the water on for a few minutes. This washes out any dirt or plastic bits left from installation.
Step 7: Cap Ends
Secure and end the line. Use end caps or clamps to close off the end of each row.