
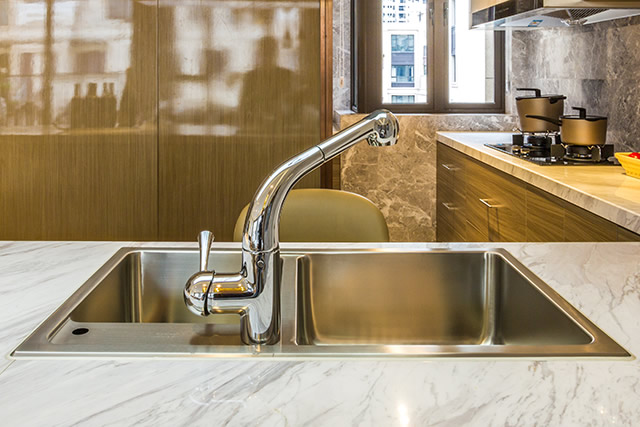
One, How to repair stainless steel sinks with scratches
1. Use a damp cloth or sponge to apply the cleaning agent to the scratches, and vigorously rub in the same direction as the metal's texture. Check your progress by periodically rinsing with a damp sponge to see if the scratches are disappearing. If this method removes the scratches, you can apply a layer of stainless steel polishing agent or olive oil. If it does not, proceed to the next step.
2. Apply a layer of toothpaste to a soft-bristled toothbrush. Re-scrub along the direction of the particles in the metal. Use a damp cloth or sponge to wipe away the toothpaste and check the progress. If not, continue scrubbing and add more toothpaste as needed. If the scratches have been successfully removed, thoroughly clean the area and proceed with polishing using stainless steel polish or olive oil. If the scratches are not removed, proceed to the next step.
3. Use fine-grit sandpaper to smooth the surface. First, test on an inconspicuous area. Maintain even pressure while sanding. Keep the sandpaper moist. It is important to keep the sandpaper moist while working. Use a sponge to wipe away scratches. Repeat as needed to keep the surface moist. With light pressure, scrape away scratches, working in the same direction as the grain of the metal.
4. If the scratches are not removed within a few minutes, try using a coarser sandpaper. After the scratches are removed, return to a finer sandpaper and gently rub the affected area, then blend it with the surrounding stainless steel surface to match the rest of the area.
5. Wipe the sanded area with a damp cloth or sponge. Please note that you are cleaning away loose sand particles from the sanding process. Therefore, use ample water and wipe in the same direction as the metal particles.
6. Use a soft cloth or towel to wipe away the scratches. Polish with stainless steel polish or olive oil to restore the shine.
II. Daily Maintenance for Sinks
Method 1: Apply a thin layer of edible oil.
To prevent damage to the sink, proper maintenance is unavoidable. After purchasing the sink, you can initially apply a layer of edible oil to the interior to prevent contact between the sink surface and corrosive substances. Additionally, during renovation, avoid pouring wastewater into the sink to prevent corrosive substances from damaging the sink surface and the drainpipe.
Method 2: Clean the sink promptly.
Establish the habit of promptly cleaning the sink. Do not wait until the sink is heavily soiled before cleaning. When cleaning, use a neutral cleaning agent and gently wipe with a sponge or cloth. Rinse thoroughly with clean water, and avoid using abrasive brushes or rough-textured scrubbers, as this can damage the surface. Also, try to prevent water from lingering on the sink's surface for extended periods to avoid staining.
Method 3: Wipe with salt
For stubborn grease stains on sinks, sprinkle salt on the stains, then use plastic wrap to scrub. After scrubbing, rinse with warm water to effectively remove the grease and restore the sink's shine. Additionally, for hard-to-reach areas like corners and the drain, use a small brush to scrub with fine salt and soapy water. Soaking the drain cover in warm soapy water for about 10 minutes before scrubbing will enhance the cleaning effect.