
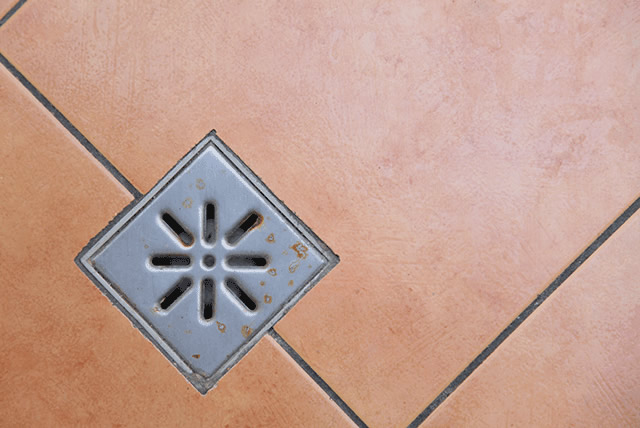
One、 RenovationDrainHow to install
1、Prepare the drain
When purchasing floor drains, it is essential to match the size according to the diameter of your existing drain pipes. Typically, this is a 50mm PVC pipe. If you have cast iron pipes, the size will be larger. Developers often leave larger drainage openings in their constructions. However, it is not recommended to purchase floor drains based on the size of the modified drainage openings. Instead, purchase floor drains based on the original size of the drainage opening, and then install the corresponding size drain.
2、Thoroughly clean the drain.
Use a cloth to thoroughly clean the area around the drain, and then clean the interior, especially removing debris such as sand and cement, to prevent blockages after installation. After cleaning, remove the cloth and check the dimensions of the purchased drain to ensure it fits properly.
3、Apply waterproof coating
Thoroughly mix the waterproof coating and apply it to the recesses and around the drain opening. Then, place the drain inside the recess to achieve the desired effect. Typically, the recess is slightly lower than the surrounding tiles, approximately 1 millimeter.
4、Install the filter shaft
Wait for 10 minutes, then dip the filter shaft in water and place it in the drain base. Ensure that the silicone on the filter shaft is properly combined with the base by rotating it.
5. Fill gaps
If there are gaps around the drain, use a sealant to fill them. Then, place the cover on top. once the drain is installed, the installation process is complete. However, ongoing maintenance is required for 24 hours, during which time it is important to ensure that the floor does not accumulate water and to avoid stepping on it.
II. Installation Method for Manhole
Method 1: Diagonal Cutting Method
If the drain is to be installed in the center of the tile, then the tile needs to be cut diagonally to obtain four equilateral triangles. When installing, a certain angle of inclination should be created, and the drain should be placed in the center of the tile.
Second method: Four-cut method
This method can be used to install the drain regardless of its location:1. Create a square area with sides approximately 12cm, with the drain as the center.2. Draw diagonals within this area.3. When applying tile, ensure a gentle slope to allow water to flow smoothly into the drain.While the appearance may not be ideal, this installation method is very practical.
Third: Cross-laid application
This installation method involves laying tiles around a drain as the central point. This method is considered effective, as it maintains the integrity of the tiles and provides a visually appealing finish. Furthermore, it ensures the proper slope for drainage.
Fourth: Edge Cut Method
This method is suitable for situations where the drain is located at the edge of the wall. In the section of the wall closest to the drain, the tiles are laid in a straight line, and only the space for the drain needs to be left open in the middle of the tiles.