
I.drainHow to repair water leakage to the floor below?
1、Identify the primary cause of the leak and the approximate location of the leak.
2. If the leakage is caused by the homeowner, professional repair services should be contacted, and it should be checked whether the issue is due to plumbing problems.
3. Regarding pipe issues, they must be repaired promptly. If the damage is severe, the pipes should be replaced.
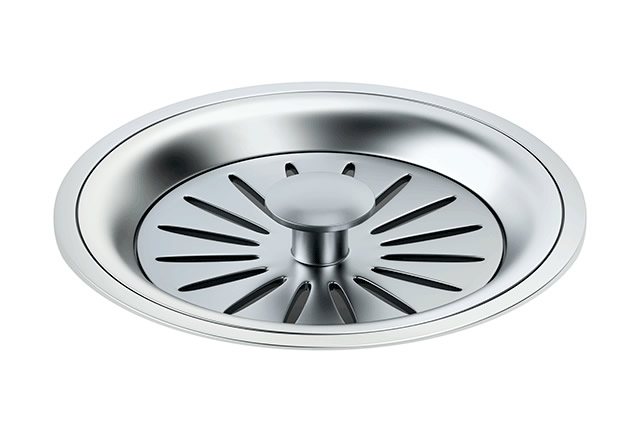
Two. What are the potential causes of water leakage from the bathroom drain to the floor below?
If you suspect a leak in your bathroom, the first step is to identify the source. This is often due to loose or poorly sealed concrete around the drainpipe or inadequate waterproofing.
1、Concrete around the manhole is not dense: The best solution for water leakage is to use CF-2000 cement-based waterproofing agent to fill the annular groove around the manhole, then compact and smooth with a trowel.
2、The waterproofing around the drain was not properly executed: Over time, this can lead to water leakage. Additionally, issues with the existing waterproofing may be due to factors such as foundation settlement. In this case, the solution currently involves removing the tiles around the drain and re-applying waterproofing.
The following steps should be followed: ① Remove a 300mm wide layer from around the drain to reach the structural layer. The existing waterproofing layer within the demolition area should be retained with a width of 150mm as a reserved overlap; ② Remove the slot at the intersection between the drain pipe and the floor, with a width of 20mm and a depth of 30mm; ③ Clean the substrate and remove any loose particles; ④ Embed and seal the drain pipe and floor slot with putty paste. Construct a new waterproofing layer on the repaired surface. The new waterproofing layer should be lined with a mesh fabric. The mesh fabric should overlap by 150mm, and the return width inside the drain should be 30-50mm. Apply a coating waterproofing layer that is compatible with the original waterproofing layer, ensuring that the new waterproofing layer overlaps with the original waterproofing layer by 150mm. The overlapping area of the original waterproofing layer should be clean and free of dust;⑤ After the main component and waterproofing are installed, remove any remaining debris. After completion, it is essential to perform a water test on the drain. Seal the drain, fill it with water for 24 hours, and carefully observe for any leaks.