
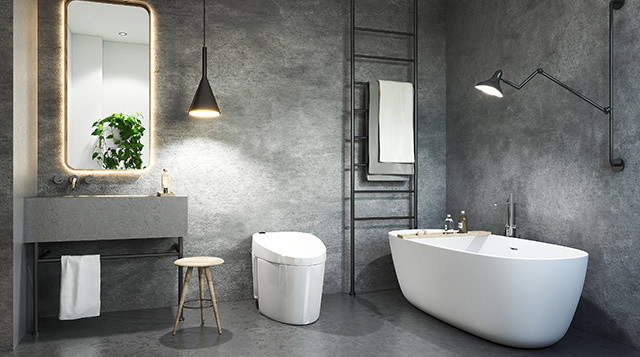
One, how to install a smart toilet lid
1. Turn off the water inlet valve for the toilet and drain the water from the toilet tank.
2、Remove the original toilet lid and align the mounting plate of the smart toilet with the two mounting holes of the toilet lid. Secure it with screws.
3. Align the slots at the bottom of the smart toilet seat and then push the panel into place.
4、once the smart toilet seat is securely installed, disconnect the existing toilet's water inlet pipe that was connected to the toilet. Then, connect the three-way connector to the water valve, and connect the other two ports to the water inlet pipe of the water tank and the filter.
5. Connect the filter and toilet inlet, and plug in the power cord.
Two. Installation steps for smart toilet lids
(1) Ensure that restrooms are equipped with electrical outlets.
Smart toilet covers are electrical products and require a power source in the bathroom. Unfortunately, many homes do not have electrical outlets pre-installed during renovation. If you still want to use a smart toilet cover, you will need to rewire the bathroom. The simplest solution is to compromise on aesthetics, such as using wires that match the color of the tiles along the corners or edges of the ceiling, or even running the wires inside the ceiling battens. This is almost invisible.
Please note: If the bathroom does not have a dry-wet separation, it is recommended to use waterproof outlets with protective covers.
(2) Verify toilet dimensions
Before purchasing, it is best to confirm whether your existing toilet is suitable for installing a smart toilet seat. While most products are designed for universal compatibility, there is a possibility that some toilets with larger sizes or non-standard shapes may not be compatible.
To determine if your existing toilet is suitable, refer to the product specifications. Measure the toilet's hole spacing, length, and the surface of the installation hole. Then, avoid selecting models with special shapes that cannot be installed.
(III) Prepare Tools
The necessary tools include: scissors (for cutting pipes), screwdriver (for removing and installing toilet lids), wrench (for installing pipes), and a cloth (for wiping and checking for leaks).
(Four) Inspect the goods
The newly delivered smart toilet seat cover includes not only the seat itself, but also accessories, manuals, and other items. The accessories include metal parts needed for installation, and some products also include filters. After confirming that all accessories are complete, check the main body for any defects; if there are none, you can begin installation.
(V) Installation Steps
Step 1: Demolition and installation of water pipes
1、Turn off the toilet's water inlet valve.
2. Empty the toilet water tank to prevent water from spraying out when the faucet is turned on later.
3. Remove the existing water inlet pipe that connects to the toilet.
4. Connect the smart toilet lid to the existing plumbing.
Step 2: Remove the existing toilet seat.
1. Remove the existing screws from the toilet lid.
2. Also, clean any dead spots.
3. Remove the old screw assembly.
4、Replace the new screw set.
5、Adjust the base according to the toilet lid position, then lock it.
Please note that the base for installing the toilet seat lid has significant movement space. After installing the toilet seat lid, if it is not aligned with the toilet seat, the position can be adjusted slightly.
Step 3: Install the smart toilet lid.
once the above work is completed, you can begin installing the smart toilet seat. Simply slide the seat into place and secure it. If you find that the seat is slightly off, don't worry; just adjust the base as described above.
Step 4: Connect the water inlet valve.
1. Verify that the newly installed water supply pipe is properly connected. Place a dry cloth underneath to help detect any leaks.
2. Insert the inlet pipe into the inlet opening of the smart toilet cover.
3、Confirm the water flow direction of the water filter.
4、Use shears to cut the pipes.
5、Install the water filter.
6. Ensure proper handling of water pipes and filters to avoid interference with wiring.
Additionally, considerate merchants often include two shims in the packaging. If the toilet seat is not level after installation, these shims can be added to adjust.
Part 5: Connect the power supply
Connect the power supply. Typically, electrical outlets in homes are located above toilet level, but if the bathroom is not separated, it is especially important to avoid splashing water onto the surface during showering. Install after completion.