
One, do anti-theft doors need to be installed with door trims?
Whether to install anti-theft door trim depends on individual needs.
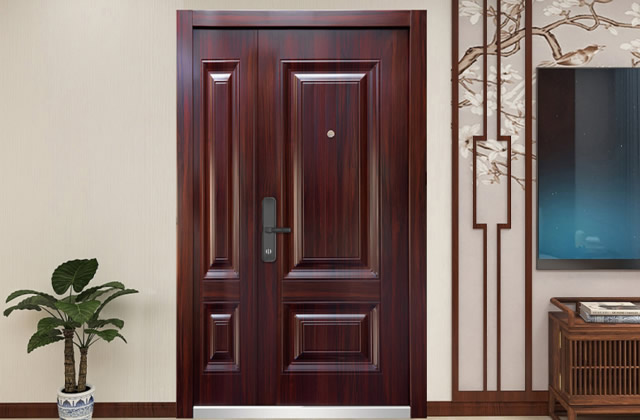
The original purpose of the door frame trim for anti-theft doors was to protect the door leaf and corners. However, with the increasing quality of modern buildings and the enhanced functionality of wall paints, cases of wall peeling or fading are rare. Therefore, the need for door frame trim on anti-theft doors has diminished, and it has become primarily a matter of personal aesthetics.
Two. Does a security door necessarily look aesthetically pleasing?
It's not aesthetically pleasing.
Although it has lost its original function, the door frame for a security door still has a decorative purpose. Installing a door frame on a security door can cover the bare wall, creating a seamless appearance between the wall and the door, avoiding any excessive visual contrast. Therefore, if possible, it is recommended to install a door frame on a security door.
Three. How to install the door frame for anti-theft doors.
Step 1: Basic framework
Select solid wood for the core material. Cut the wood boards to equal widths according to the door frame size to form the basic frame of the door. First, mark the horizontal line on the wall using an infrared level. Then, measure the size of the door opening and mark the vertical lines on both sides using a miter saw.
Step 2: Drill holes in the wall
Use a pneumatic drill to create holes in the wall, add wooden wedges, and make markings. At this stage, ensure that the door frame and door casing are installed vertically and horizontally, maintaining accurate right angles, and then drive nails through the door frame and into the wooden wedges to secure the door frame to the wall.
Step 3: Apply a multi-layer coating.
once the basic door frame is securely fixed, you can proceed with creating a stepped profile. This is done to provide a more convenient and accessible door operation later on, with a gap of approximately 4-5 cm.
Step 4: Install the panel
After completing the above steps, proceed with panel installation. First, measure the dimensions accurately, then cut the panels to the required size, ensuring tight joints.
Step 5: Install wooden battens
once the panels are installed, you can begin installing the wooden frame. Maintain a 1cm gap from the inside out, marking the positions, and then install the cut wooden frame according to the markings. This will create a more aesthetically pleasing overall door frame. At this stage, it is crucial to ensure that there is approximately 5cm of space between the door frame and the floor, to ensure that subsequent work, such as leveling the floor or installing flooring or tiles, can be carried out properly.
Step six: Door frame line
Use a nail gun to attach the door frame to the door casing, and then secure the door frame and the silent strip. The nails should be placed precisely to cover the joint between the front and back door frame, and it is important not to drive all the nails in at once, as this could cause the door frame to become crooked. Additionally, remove any excess wood from the door frame.
Step 7: Surface Cleaning
once the anti-theft door frame and door casing are installed, cleaning the surface of the door casing is necessary.